Mastering Toilet Installation & Repair: Your Ultimate Guide to a Hassle-Free Bathroom Upgrade
When it comes to bathroom upgrades, ensuring your toilet is properly installed or repaired can make all the difference in comfort, functionality, and aesthetics. Whether you're replacing an old toilet, dealing with leaks, or simply upgrading to a more efficient model, understanding the basics of toilet installation and repair can save time and prevent unnecessary headaches. Here's a comprehensive guide to mastering these tasks with confidence.
Step 1: Assess Your Needs
Before diving into any toilet installation or repair project, identify your specific requirements. Are you dealing with a cracked tank, a faulty flush valve, or a complete replacement? Knowing whether the issue is structural or mechanical will help you choose the right approach and tools. For installation, measure the toilet space, including the rough-in dimension (the distance from the wall to the center of the floor drain) to ensure the new toilet fits perfectly.
Step 2: Gather the Necessary Tools
For successful toilet installation or repair, having the right tools is essential. Here’s a list of items you might need:
Adjustable wrench
Screwdriver
Plumber’s putty
Wax ring or rubber seal
Level
Bucket and sponge for water removal
Having these tools ready ensures your project progresses smoothly without last-minute trips to the hardware store.
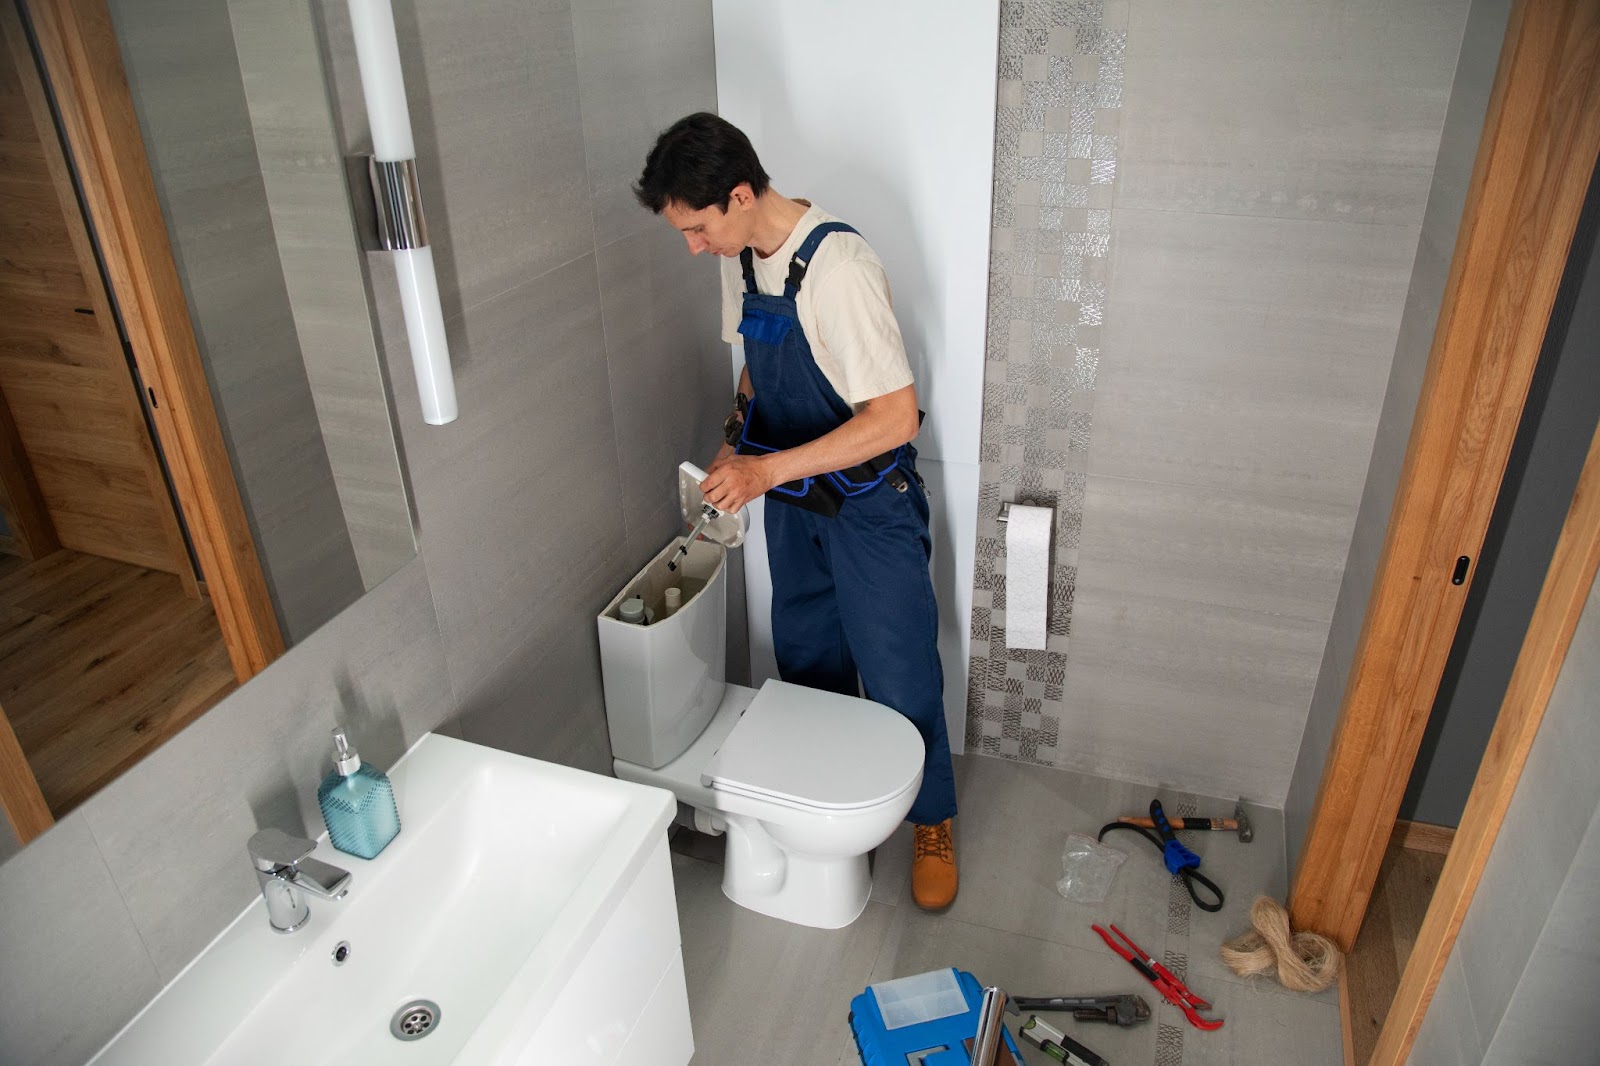
Step 3: Toilet Installation Basics
Installing a toilet involves a few critical steps:
Remove the Old Toilet: Turn off the water supply and drain the tank and bowl. Unscrew the bolts holding the toilet in place and carefully lift it off the flange.
Prepare the Flange: Inspect the flange for damage and replace it if necessary. Clean the area and install a new wax ring or rubber seal.
Install the New Toilet: Align the new toilet over the flange, ensuring the bolts fit through the base holes. Press down to seal the wax ring and secure the toilet with nuts.
Reconnect the Water Supply: Attach the water supply line to the tank and turn on the water. Check for leaks and ensure the toilet is level.
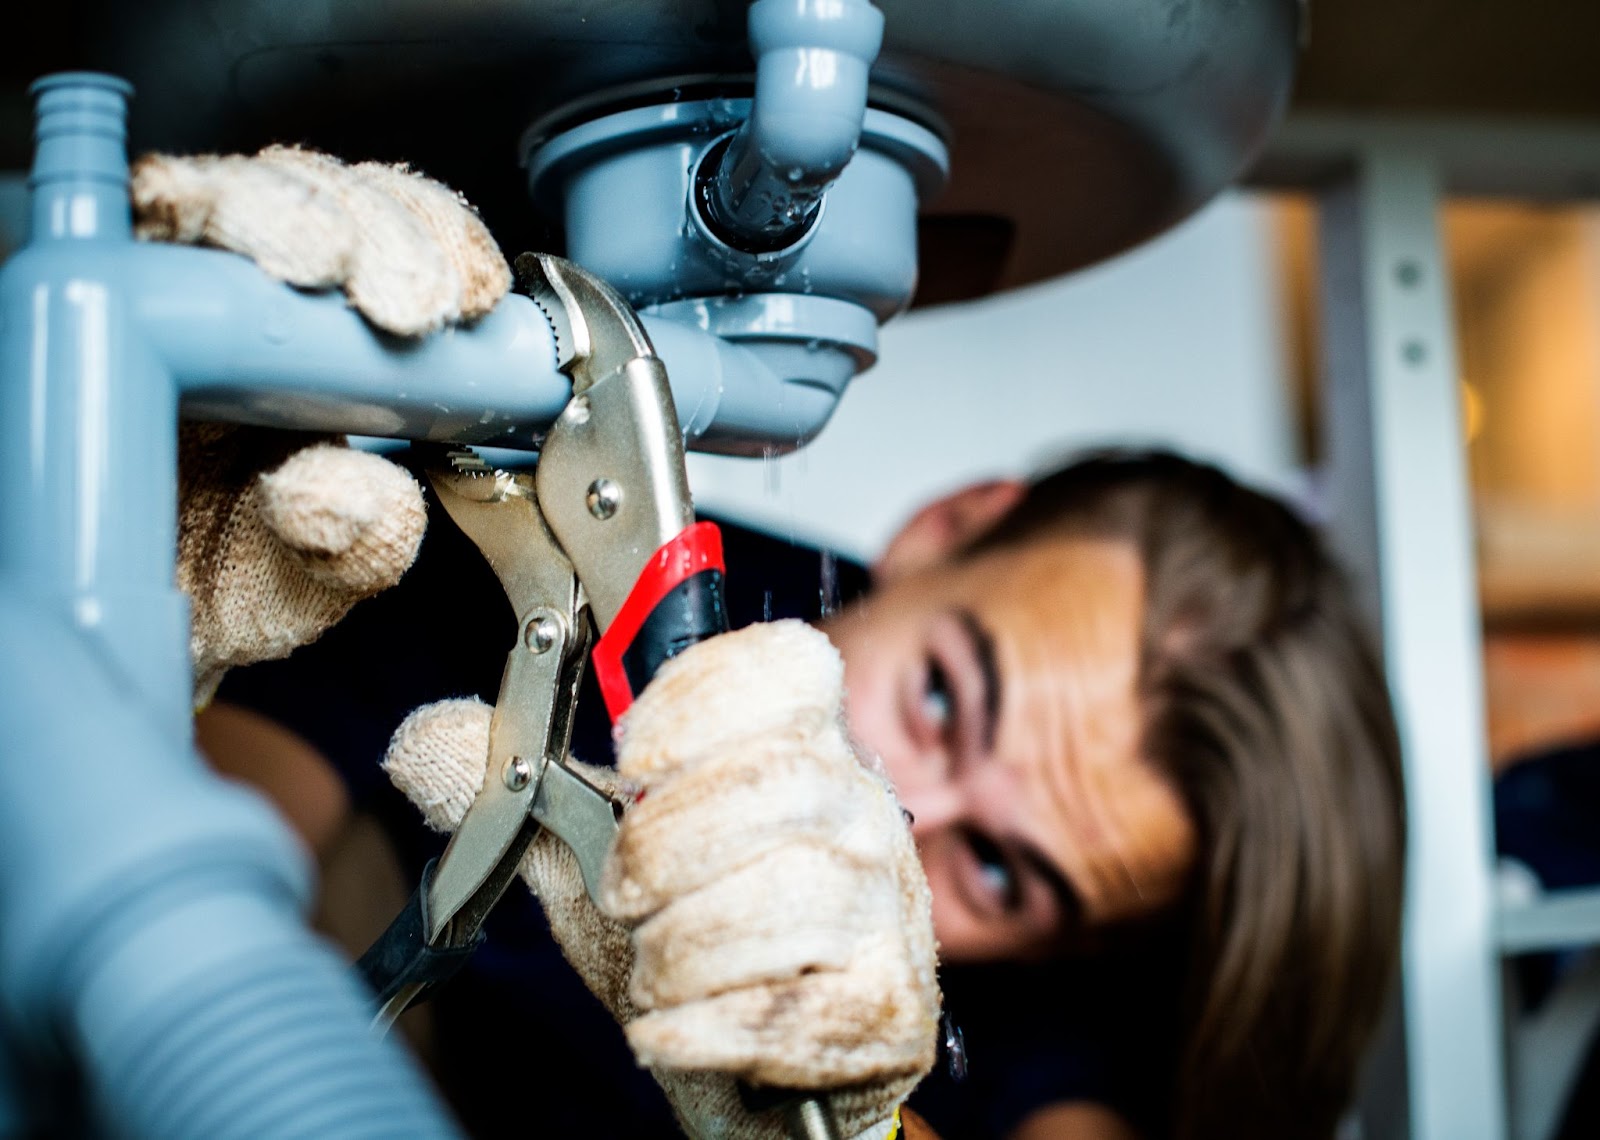
Step 4: Common Toilet Repairs
Toilet issues can range from minor leaks to significant flushing problems. Here’s how to tackle some common repairs:
Leaking Base: This often indicates a worn-out wax ring. Remove the toilet, replace the ring, and reseat the toilet.
Running Toilet: Replace the flapper or adjust the float in the tank to stop continuous water flow.
Weak Flush: Clean out any blockages in the flush holes or replace the fill valve to improve water flow.
Step 5: Know When to Call a Professional
While many toilet installation and repair tasks are DIY-friendly, some issues may require professional intervention. Persistent leaks, damaged flanges, or complex plumbing configurations are best handled by an expert. A professional can ensure the job is done right, saving you from future complications.
Conclusion
Mastering toilet installation and repair is a valuable skill that can enhance your home’s functionality while saving you money on plumbing services. With the right tools, preparation, and knowledge, you can confidently tackle most toilet-related issues. Whether you're installing a modern, water-efficient model or fixing a leaky seal, this guide has you covered for a hassle-free bathroom upgrade.
Take the first step toward a better bathroom by addressing your toilet installation or repair needs today. A well-functioning toilet is just one project away from transforming your space into a comfortable and efficient haven.
For More Information Visit Us
Email: risingsonplumbing@gmail.com
Contact : (785) 917–1616
Location: Lawrence, Kansas
Website: www.risingsonplumbing.com

Comments
Post a Comment